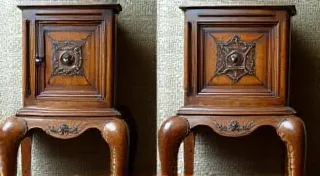
French Polishing: A Step-by-Step Guide to a Classic Finish
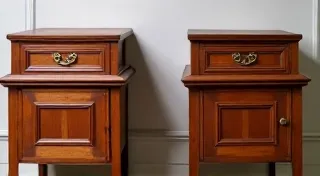
French polishing is a revered technique in antique furniture restoration, renowned for producing a deep, lustrous sheen unlike any other finish. It's a labor of love, requiring patience and a delicate touch, but the results are truly spectacular. This guide will walk you through the process, equipping you with the knowledge to apply this classic finish to your vintage furniture projects. Understanding the wood you’re working with is also key to success, and for those new to this, exploring understanding antique furniture wood types can be a valuable first step.
Understanding French Polishing
Unlike modern lacquers or varnishes, French polishing doesn't involve a thick coat applied in one go. Instead, it’s achieved through the gradual application of many incredibly thin layers of shellac, built up using a "rubber"—a pad of cloth—to impart a unique micro-buffing effect with each application. The result is a finish with remarkable depth and clarity, enhancing the natural beauty of the wood. The history and artistry surrounding antique furniture are fascinating; sometimes, the very piece itself tells a story – a glimpse into the ghosts in the grain, if you know how to look.
Materials You'll Need
- Shellac Flakes: Dewaxed shellac is highly recommended.
- Rubbing Alcohol (Isopropyl Alcohol): For dissolving the shellac.
- Distilled Water: To dilute the shellac mixture (optional, for softer finishes).
- Cotton Waste/Lint: Essential for the rubber. Avoid cotton balls, as they have too much texture.
- Tack Cloth: For cleaning the surface.
- Glass Jar: For dissolving the shellac.
- Soft Brushes: For dusting.
- Rubber (Pad): Usually made from folded cotton waste.
- Gloves: To protect your hands.
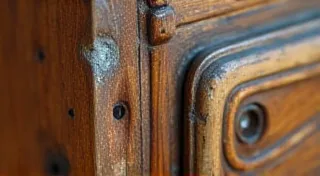
Step 1: Preparing the Surface
The success of French polishing hinges on a perfectly prepared surface. Begin by stripping any existing finish. Once bare wood is exposed, sand progressively through finer grits (e.g., 120, 180, 220) to achieve a smooth, even surface. Remove all sanding dust with a tack cloth. A slight grain raising is normal; carefully raise the grain with a damp cloth and let it dry before proceeding. Sometimes, older pieces reveal hidden challenges like woodworm. Learning how to identifying and repairing woodworm damage can be crucial for preserving the integrity of an antique.
Step 2: Dissolving the Shellac
Dissolving the shellac is crucial. A common ratio is 2 ounces of dewaxed shellac flakes to 1 pint of rubbing alcohol. Place the flakes in the glass jar, add the alcohol, and stir gently until completely dissolved. The solution should be clear. Allow it to settle completely; undissolved particles can cause imperfections in the finish. A small amount of distilled water can be added for a softer finish, but this is not essential.
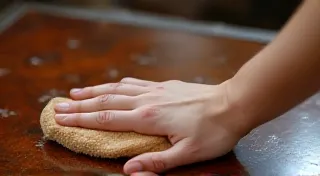
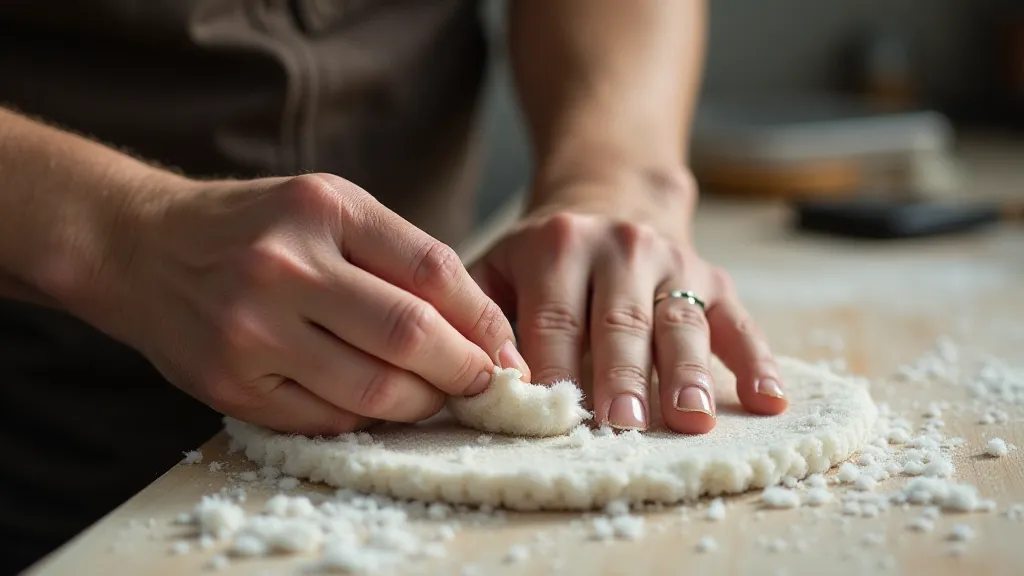
Step 3: Applying the First Coats ("Glosses")
The first few coats, known as "glosses," are applied very lightly. Dip the rubber into the shellac solution, then lightly touch the surface to remove excess. Apply the rubber in gentle, overlapping strokes, working in the direction of the grain. The goal here is not to build a finish, but to simply dampen the surface with shellac. Allow each coat to dry completely before applying the next – this could take anywhere from 15 minutes to an hour, depending on humidity and temperature.
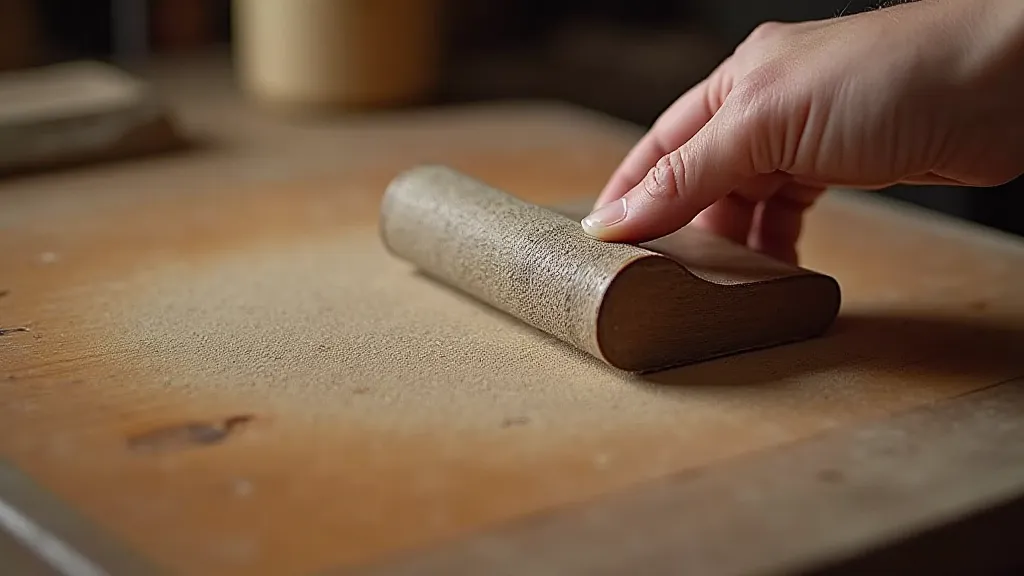
Step 4: The "Rubbing Out" Phase
Once you’re satisfied with the initial dampening, you can begin the "rubbing out" phase. This is where the magic happens. The rubber is used not only to apply shellac, but also to subtly buff the surface with each pass. The slight friction generates heat, which further melts the shellac and creates the characteristic glassy appearance. Keep the rubber clean by periodically folding it to expose a fresh surface.
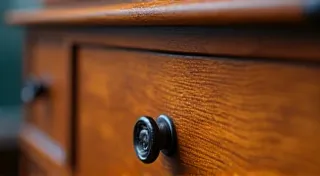
Step 5: Building the Sheen
Continue applying thin coats, always "rubbing out" with the rubber. The key is patience! It can take dozens, even hundreds, of coats to achieve the desired level of gloss. Don’t rush the process. Observe the surface carefully for imperfections. A slight swirl or unevenness can usually be corrected with a few extra coats and careful attention to the rubber technique. Remember to keep the rubber clean and avoid pressure – let the friction do the work. Understanding whether you’re performing a restoration or a conservation effort is also vital - these processes are distinct, with varying approaches and goals. Learn more about the conservation vs. restoration to ensure you're preserving the piece's history and value appropriately.
Step 6: Final Buffing (Optional)
Once the finish is complete, a final, very gentle buffing with a clean rubber can enhance the sheen. Avoid excessive pressure, as this can damage the finish. You can also use a very soft chamois leather for the final buff.
Troubleshooting Tips
- Orange Peel: Caused by applying too much shellac at once. Correct with more coats and lighter application.
- Blooms: Caused by moisture trapped in the shellac. Allow the finish to dry more completely.
- Streaking: Often due to uneven application of the rubber. Pay close attention to your technique.
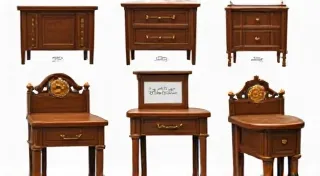
French polishing is a rewarding skill that connects you with a rich tradition of antique furniture restoration. With practice and patience, you can achieve stunning results and breathe new life into your vintage furniture pieces. The techniques are demanding, but the reward is a finish that speaks volumes about the care and artistry involved.