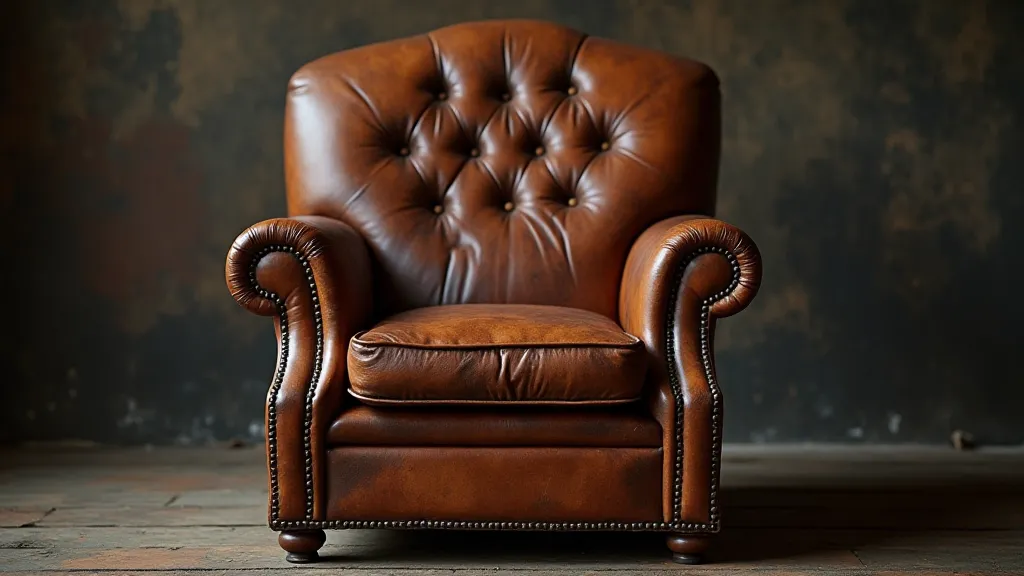
Working with Antique Leather on Furniture: Cleaning and Repair
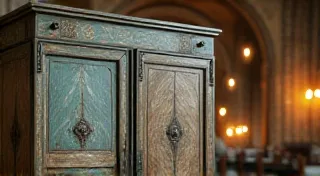
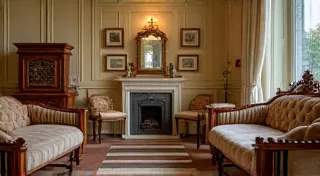
Antique furniture often incorporates leather – seating, armrests, decorative accents – and preserving this element is crucial for maintaining the piece’s value and beauty. Leather on antique furniture is typically much more delicate than modern leather and requires a gentle, informed approach. This guide will cover cleaning, conditioning, and basic repair techniques, empowering you to care for these valuable components.
Understanding Antique Leather
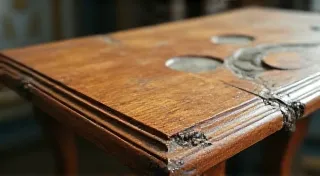
Before you begin, it's important to identify the type of leather you’re working with. Common types found on antique furniture include:
- Full-Grain Leather: The highest quality, showing natural markings and imperfections. Durable and develops a beautiful patina over time.
- Top-Grain Leather: A layer of the grain has been sanded away. Still relatively durable, but lacks the character of full-grain.
- Split Leather: The lower layer of the hide. Less durable and more prone to cracking. Often coated with a finish.
Knowing the type of leather dictates the cleaning methods and products you should use. When in doubt, err on the side of caution and test any cleaning solution in an inconspicuous area first.
Cleaning Antique Leather
Dusting regularly is the simplest form of maintenance. For deeper cleaning:
Supplies You'll Need:
- Soft cloths (microfiber are ideal)
- Gentle soap (specifically for leather - saddle soap is a good option)
- Distilled water
- Leather cleaner (test in an inconspicuous area first!)
Cleaning Steps:
- Dust: Use a soft brush or cloth to remove loose dust and debris.
- Prepare a Solution: Dilute a small amount of gentle soap in distilled water.
- Apply and Wipe: Dampen a cloth with the solution (do not soak!) and gently wipe the leather surface.
- Rinse: Use a separate cloth dampened with plain distilled water to remove any soap residue.
- Dry: Allow the leather to air dry completely. Avoid direct sunlight or heat, which can cause cracking.
Conditioning Antique Leather
Like any natural material, leather needs to be conditioned to prevent drying and cracking. Conditioning replenishes the oils that leather loses over time.
Supplies You'll Need:
- Leather conditioner (specifically formulated for antique leather – look for products with natural oils like neatsfoot oil or lanolin)
- Soft cloth
Conditioning Steps:
- Apply: Apply a small amount of conditioner to a soft cloth.
- Massage: Gently massage the conditioner into the leather in a circular motion.
- Buff: After a few minutes, buff the leather with a clean, dry cloth to remove any excess conditioner and enhance the shine.

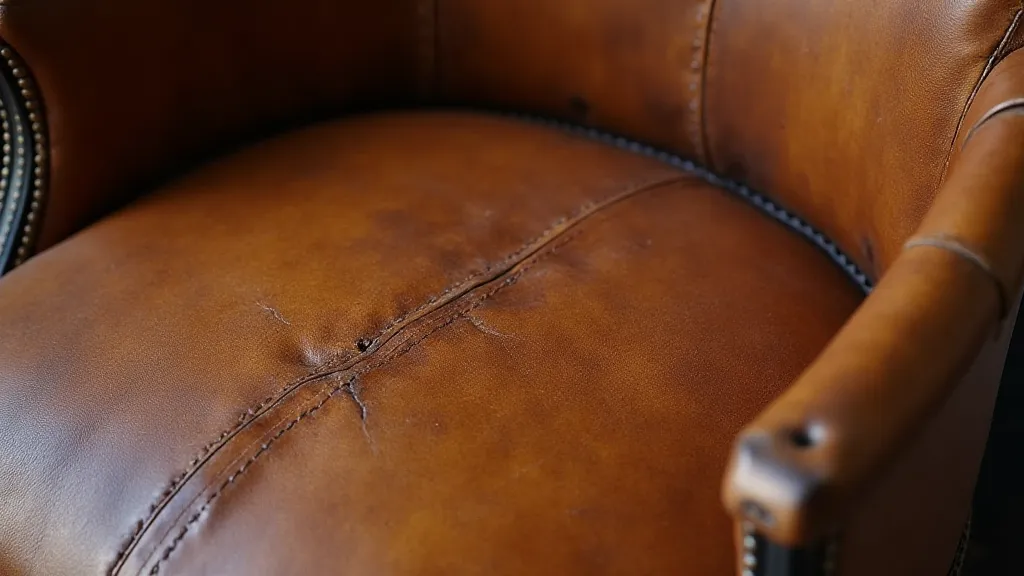
Basic Leather Repair
Minor cracks and superficial damage are common on antique leather. While major repairs require a professional, here are some basic techniques for small issues:
Minor Cracks:
- Clean and Condition: Thorough cleaning and conditioning can sometimes minimize the appearance of small cracks.
- Leather Filler: For slightly more noticeable cracks, use a leather filler compound. Apply sparingly and follow the manufacturer’s instructions.
Loose Seams:
- Clean: Clean the area around the loose seam.
- Needle and Thread: Use a strong needle and thread (waxed linen thread is ideal) to carefully stitch the seam back together.
Important Considerations
- Always test any cleaning or repair product on a hidden area first.
- Avoid harsh chemicals and abrasive cleaners.
- Sunlight and heat are leather's enemies. Keep furniture away from direct exposure.
- If you're unsure about a repair, consult a professional furniture restorer.
By following these guidelines, you can preserve the beauty and integrity of antique leather on your furniture for generations to come.