Repairing Loose Joints on Antique Furniture: Traditional Techniques
Loose joints are a common problem with antique furniture. Years of use, changes in humidity, and even improper repairs can weaken the bonds that hold pieces together. While modern adhesives offer quick fixes, understanding and employing traditional joint repair techniques is crucial for preserving the integrity and value of your antique furniture. This guide explores proven methods for restoring common joint types, respecting the original craftsmanship and materials.
Understanding the Problem: Why Joints Fail
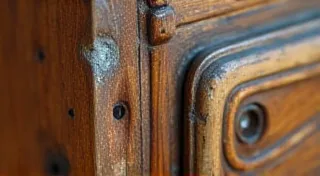
Before tackling repairs, it's important to understand why a joint has become loose. Common causes include:
- Wood Movement: Wood expands and contracts with changes in humidity. This constant movement can stress joints.
- Glue Degradation: Old animal glue (hide glue) dries out and loses its strength over time. Modern glues can also fail, though less commonly.
- Physical Stress: Repeated use and movement can wear down joints.
- Previous Repairs: Earlier attempts to repair joints may have used inappropriate methods or materials, exacerbating the problem. Sometimes, improper finishing techniques can also contribute to the degradation of the wood and the joints themselves.
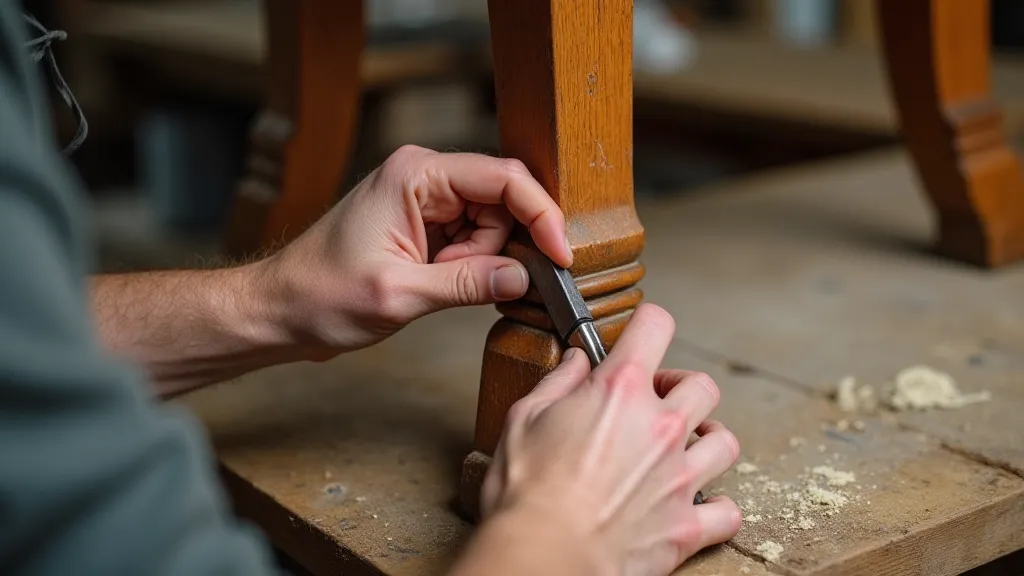
Common Joint Types and Traditional Repair Techniques
Let's examine some common antique furniture joints and how to repair them using traditional methods. Preserving the original finish is also crucial, and in some cases, understanding how to restore protecting your restored antique furniture is key to long-term stability.
Dovetail Joints
Dovetail joints, prized for their strength, are frequently found in drawers and case pieces. When loose, the tails and pins often appear separated. Recognizing the subtle nuances of different wood types and their corresponding behaviours is also essential. For example, knowing how different inlays react to humidity changes, and understanding how to care for them, can prevent further damage. If your piece has inlaid details, learning restoring inlaid details is a crucial part of the overall preservation process.
Repair Process:
- Clean the Joint: Carefully remove any old glue or debris using a small chisel or scraper. Take care to avoid damaging the surrounding wood.
- Re-Glue: Apply a thin layer of hide glue to both surfaces of the joint. Ensure even coverage for maximum adhesion.
- Clamping: Use clamps to tightly compress the joint, ensuring proper alignment. Protect the wood with felt or soft wood shims to prevent clamp marks. Consider the type of wood and its grain direction when selecting clamping pressure – excessive pressure can cause distortion.
- Cure: Allow the glue to dry completely according to the glue manufacturer’s instructions (typically 24 hours). The drying time can be affected by humidity and temperature, so monitor conditions carefully.
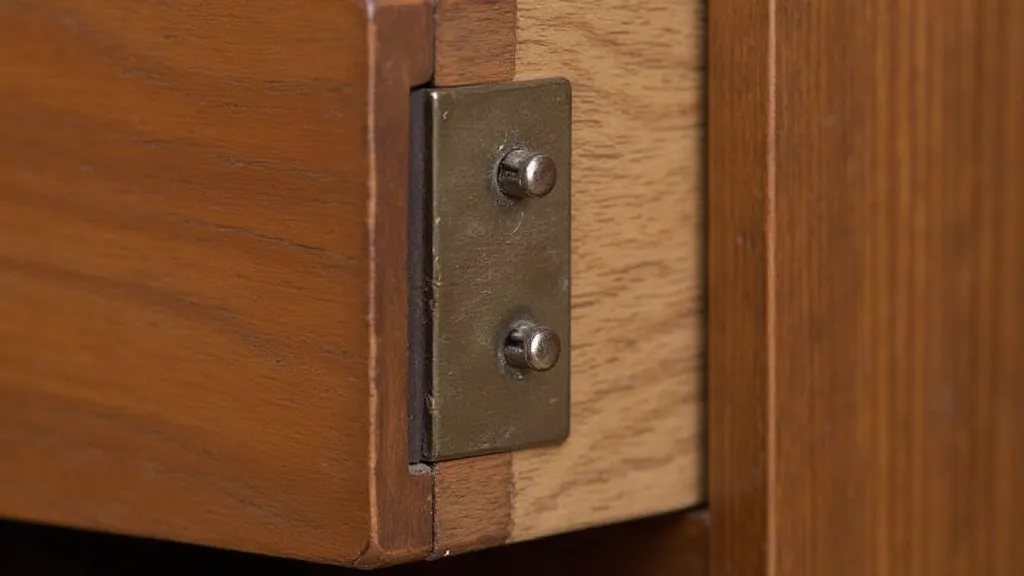
Mortise and Tenon Joints
Mortise and tenon joints, frequently used in frames and legs, connect two pieces of wood by fitting a projecting tenon into a corresponding mortise (hole). These joints are particularly vulnerable to damage from repeated stress and shifts in wood. The stability of these joints is also impacted by the type of wood used – softer woods will degrade faster than hardwoods.
Repair Process:
- Assess the Damage: Check if the tenon is broken or the mortise is widened. If the tenon is broken, it may need to be replaced. A careful examination will reveal the extent of the damage and inform the repair strategy.
- Clean the Joint: Remove old glue and debris. A thorough cleaning is essential for a strong, lasting repair.
- Re-Glue: Apply hide glue to both surfaces. Ensure the glue penetrates all areas of the joint.
- Alignment and Clamping: Align the pieces carefully and clamp securely. Use wedges to ensure a tight fit. Over-tightening can crush the wood fibers, so use a measured approach.
- Drying Time: Allow sufficient drying time for the glue to cure. The curing process is vital for the joint's strength and stability.
Other Joint Types
Other joints such as lap joints, miter joints, and bridle joints can be repaired using similar principles: thorough cleaning, precise gluing, and secure clamping. The choice of glue is critical, and using a high-quality hide glue ensures compatibility with antique furniture. Knowing what’s best for the piece will also affect the finishing choices. If your piece has intricate finishing details, learning how to select the right choosing the right wax for antique furniture is a key step.
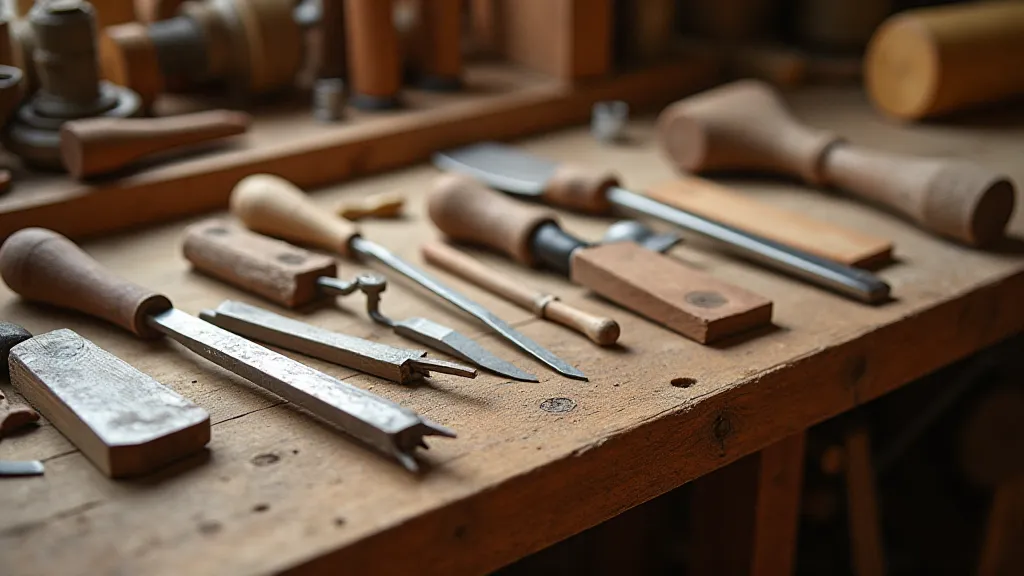
Essential Tools for Joint Repair
Having the right tools is key to a successful joint repair. Here's a list of essential tools:
- Hide Glue: Traditional animal glue is often preferred for its reversibility and compatibility with antique furniture. It’s often a safer option than modern glues, which can be difficult to remove without causing damage.
- Small Chisel Set: For cleaning and shaping joints. Various sizes and shapes are needed for different joint profiles.
- Scraper: For removing old glue. A sharp scraper is more effective and less likely to damage the wood.
- Clamps: Various sizes and types (e.g., bar clamps, pipe clamps) are essential. Understanding the clamping force needed for different joints is crucial.
- Mallet: To gently tap chisels and other tools. Using a mallet allows for controlled force and reduces the risk of damage.
- Glue Brush: For applying glue evenly. A high-quality brush ensures even glue distribution.
- Soft Wood Shims: To protect the wood surface during clamping. These prevent unsightly clamp marks.
- Heat Source: (Optional) Gentle heat can thin hide glue for easier application. Use caution to avoid overheating the glue.
Important Considerations & Precautions
Repairing antique furniture is a delicate process that requires careful consideration. It’s important to understand that even the best repairs might leave subtle traces of intervention, which some collectors may view negatively. However, a well-executed repair can significantly extend the life of a piece.
- Test First: Always test your glue and techniques on an inconspicuous area before tackling the main repair. This helps to ensure compatibility and avoid unexpected results.
- Respect Original Material: Whenever possible, use materials and techniques consistent with the original construction. This helps to maintain the piece's authenticity and value.
- Avoid Over-Glueing: Excess glue can weaken the joint and attract dust and dirt. Use a minimal amount of glue for a strong, clean repair.
- Professional Help: For severely damaged or valuable pieces, consider seeking professional help from a skilled antique furniture restorer. A professional can assess the damage accurately and recommend the best course of action. They have the experience and tools to tackle complex repairs.
- Authentication: Before undertaking any significant repairs, it’s advisable to have the piece authenticated by a reputable expert. This can help to determine its value and ensure that the repairs are appropriate.
- Documentation: Keep detailed records of the repair process, including photographs and materials used. This documentation can be valuable for future reference and can also add to the piece’s provenance.
Repairing loose joints on antique furniture requires patience, skill, and a respect for the original craftsmanship. By using traditional techniques and understanding the underlying causes of joint failure, you can help preserve these valuable pieces for generations to come. Knowing how to spot potentially fake pieces is also essential, and the guide on how to spot fake antique furniture can be invaluable.