Veneer Repair for Antique Furniture: Patching, Filling, and Re-gluing
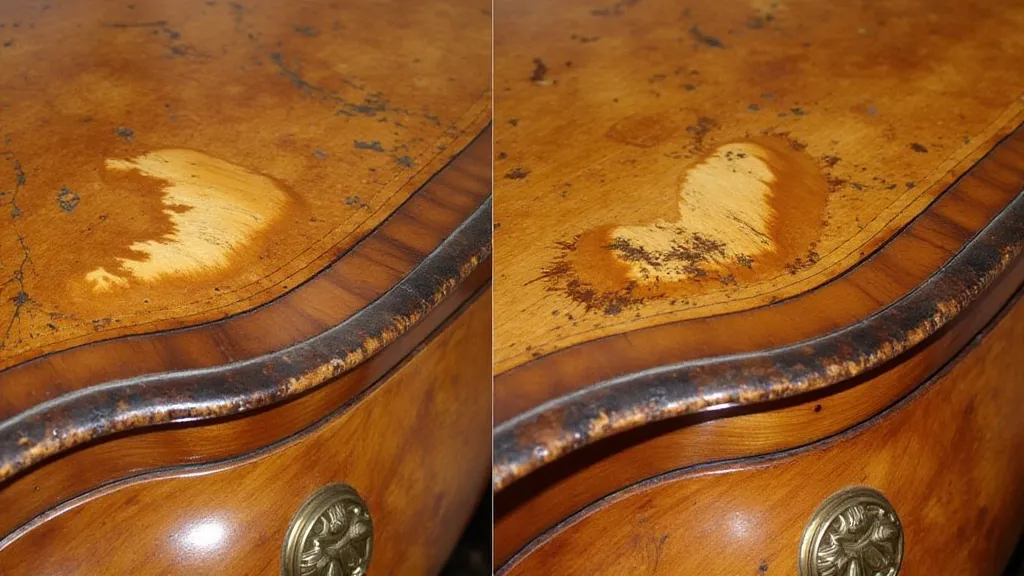
Veneer, that thin layer of precious wood applied to a furniture carcass, is a common source of damage in antique furniture. Chips, cracks, and loose veneer sheets detract from the beauty and value of these treasured pieces. Fortunately, with patience and the right techniques, you can often repair damaged veneer and restore your antique furniture to its former glory. This guide covers patching, filling, and re-gluing – essential skills for any furniture restorer.
Understanding Veneer Damage
Before you start, it's crucial to understand the nature of the damage. Common veneer issues include:
- Chips & Missing Pieces: Often caused by impact or age.
- Cracks: Can be caused by changes in humidity or stress on the furniture.
- Loose Veneer: Caused by glue failure, often exacerbated by humidity fluctuations.
- Bubbles: Indicate moisture trapped beneath the veneer, leading to glue failure.
Patching Veneer Chips
For small chips, a veneer patch is the best solution. You'll need:
- Matching Veneer: Finding a veneer that matches the grain and color of the original is paramount. Salvaged veneer from another piece of furniture, or carefully sourced wood, are good options.
- Wood Glue: A good quality wood glue designed for furniture restoration.
- Clamp: To hold the patch securely.
- Razor Blade or Scalpel: For precise trimming.
Steps:
- Prepare the Chip: Carefully clean the chipped area, removing any loose debris.
- Shape the Patch: Cut a patch of matching veneer slightly larger than the chip. Rounding the corners of the patch helps prevent future cracking.
- Apply Glue: Apply a thin layer of wood glue to both the chip and the patch.
- Position and Clamp: Carefully position the patch over the chip. Use a clamp to hold it firmly in place. Protect the original finish with wax paper or plastic wrap between the clamp and the furniture.
- Allow to Dry: Let the glue dry completely, usually 24 hours, before removing the clamp.
- Trim Excess: Once dry, use a sharp razor blade to carefully trim away any excess veneer, flush with the surrounding surface.
- Wood Filler: Choose a filler appropriate for the wood type.
- Putty Knife: For applying the filler.
- Sandpaper: Various grits (e.g., 120, 220, 320)
- Clean the Area: Remove any loose debris from the crack or gap.
- Apply Filler: Use the putty knife to carefully apply the wood filler, slightly overfilling the area.
- Allow to Dry: Let the filler dry completely according to the manufacturer's instructions.
- Sand Smooth: Start with a coarser grit sandpaper (120) to remove excess filler, then gradually move to finer grits (220, 220) to achieve a smooth, flush surface.
- Wood Glue: Again, a quality furniture restoration glue.
- Bone Folder or Soft Cloth: For applying glue and smoothing the veneer.
- Clamp or Veneer Hammer: To apply pressure evenly.
- Moist Towel: To clean up excess glue.
- Clean the Area: Carefully clean both the underside of the veneer and the underlying surface. Remove any old glue residue.
- Apply Glue: Apply a thin, even layer of wood glue to both surfaces.
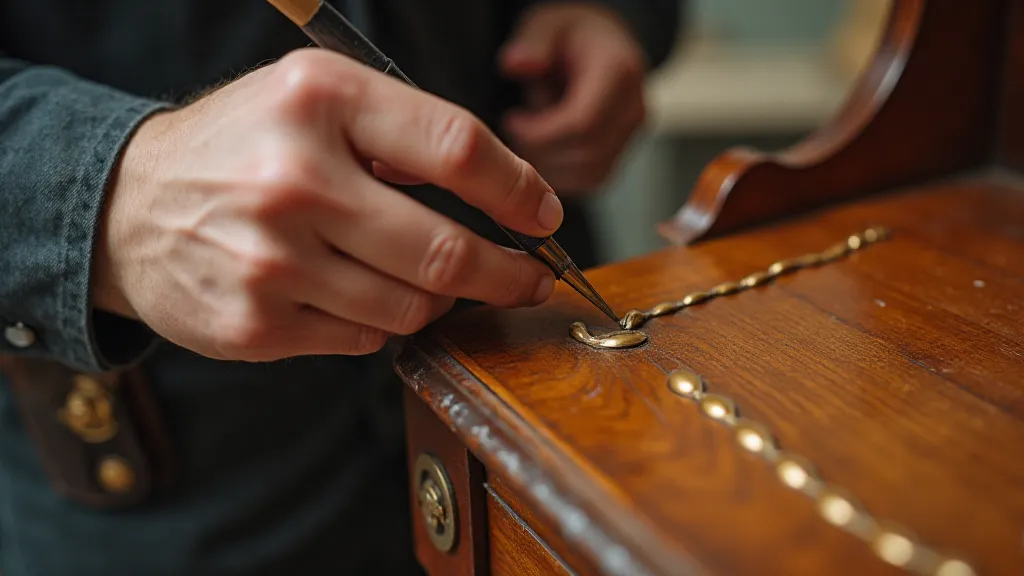
- Position the Veneer: Carefully position the veneer back into place.
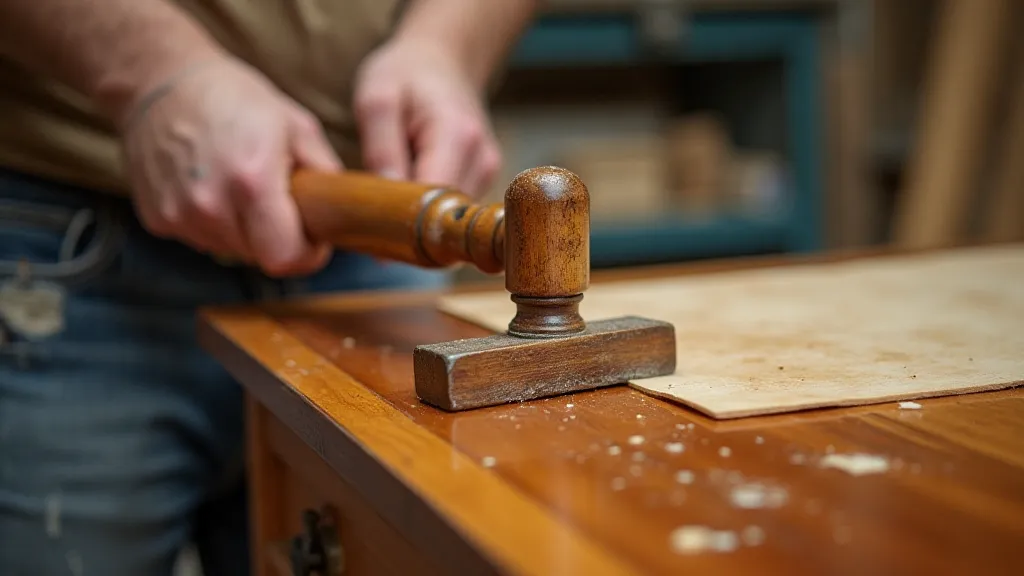
- Apply Pressure: Use a clamp or veneer hammer to apply even pressure across the entire surface. A veneer hammer is preferred as it distributes pressure more evenly than a traditional clamp. Protect the finish with wax paper.
- Clean Up Excess Glue: Wipe away any excess glue that squeezes out with a damp towel.
- Allow to Dry: Let the glue dry completely, typically 24-48 hours, before removing the clamp.
- Practice: Veneer repair requires practice. Experiment on scrap pieces of veneer before tackling the real thing.
- Humidity: Changes in humidity can exacerbate veneer problems. Maintaining consistent humidity in your home can help prevent future issues.
- Finish Matching: After repairs, you will likely need to touch up the finish to blend the repaired area with the surrounding original finish.
Filling Gaps and Cracks
For larger gaps or hairline cracks, wood filler can be used. Choose a wood filler that is colorable or tintable to match the veneer.
Materials:
Process:
Re-gluing Loose Veneer
Loose veneer is a common problem, often due to the original glue failing. Here’s how to tackle it:
You’re going to need:
Steps:
Important Considerations